Introduction
In today’s digital classrooms, interactive tools are essential for keeping students engaged and motivated. Blooket has emerged as a popular platform that transforms traditional quizzes into fun, competitive games. By turning learning into an interactive experience, it encourages participation, reinforces knowledge, and creates a lively classroom environment.
Whether you are a seasoned teacher or new to educational technology, understanding how to host a Blooket game can make a big difference in how students respond to lessons. Hosting is straightforward but requires attention to detail to ensure smooth gameplay and maximum engagement. From selecting the right question sets to managing game settings, every step plays a role in creating a successful learning experience. This guide will walk you through the entire process of hosting a Blooket game, provide practical tips, and help you make learning fun and effective for your students.
How to Host a Blooket Game: Step-by-Step Guide
1. Create Your Blooket Account
Before hosting, you need a Blooket account. Sign up using your email or a teaching platform account. After logging in, you will access your dashboard, where you can browse, create, and manage question sets and games.
2. Choose or Create a Question Set
Blooket offers a large library of pre-made question sets covering different subjects and grade levels. Browse these sets to find one that fits your lesson. You can also create your own set to match your curriculum, adjusting the questions’ difficulty and format according to your students’ needs. Custom question sets allow for targeted learning and better engagement.
3. Select the Game Mode
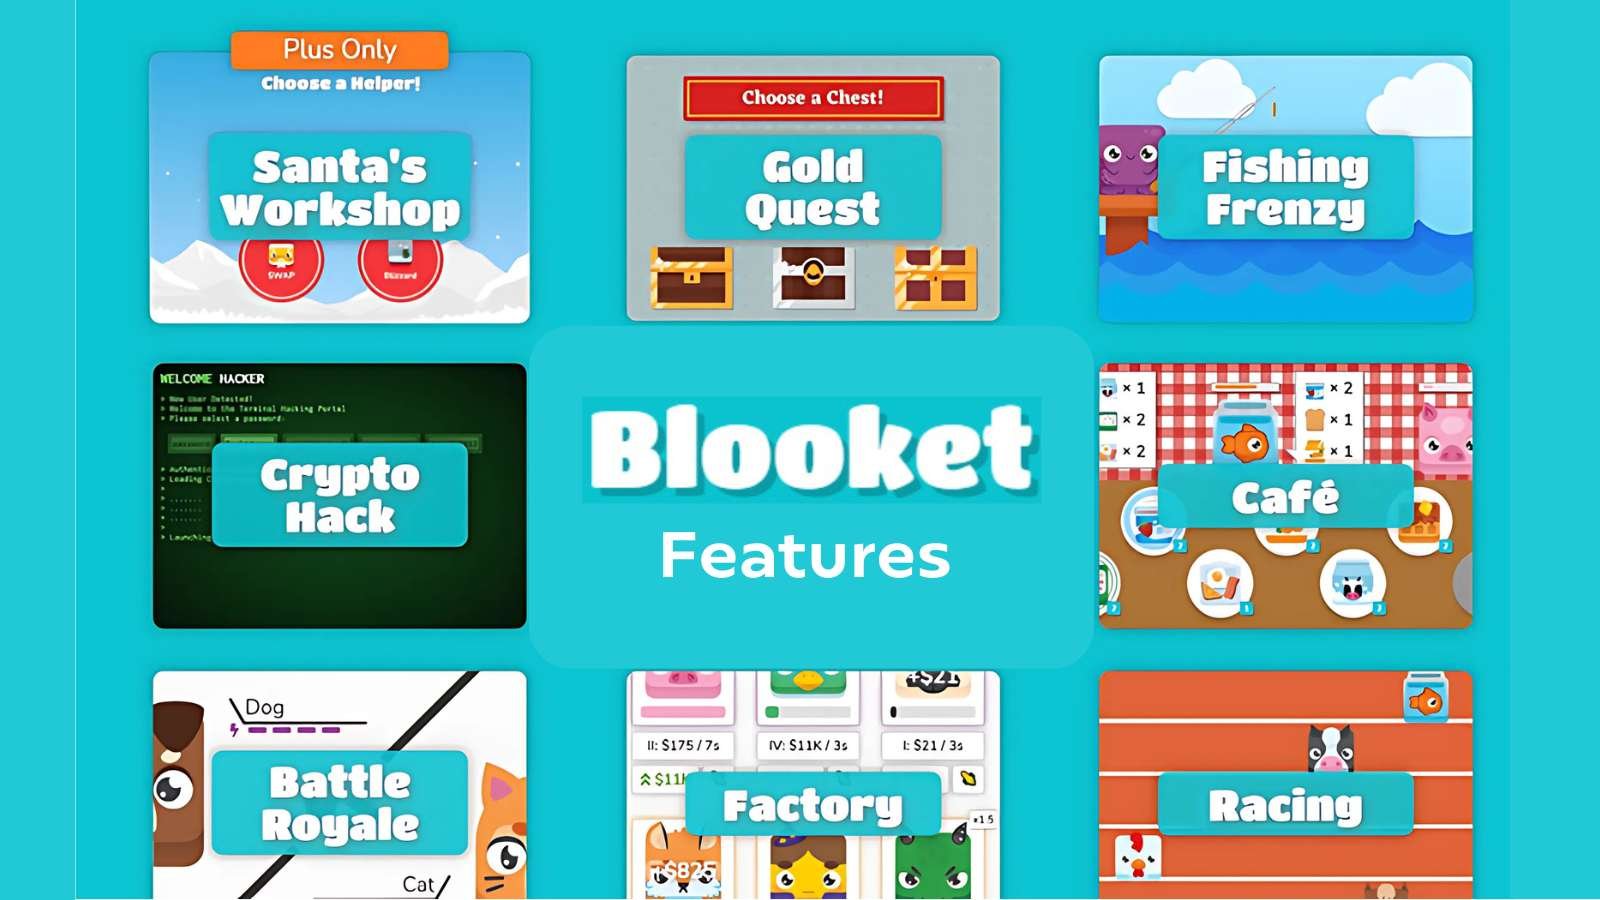
Once your question set is ready, you can host the game by choosing a mode. Blooket offers several options:
-
Classic: Standard quiz format.
-
Tower Defense: Players answer questions to defend towers.
-
Battle Royale: Competitive mode where players race against each other.
-
Other Modes: Each mode adds a unique twist, keeping gameplay fresh.
Selecting the right mode depends on the classroom size, learning objectives, and student preferences.
4. Adjust Game Settings
Before starting, configure settings such as:
-
Time per question.
-
Maximum number of players.
-
Whether late joiners are allowed.
-
Scoring system.
Customizing settings ensures the game fits your teaching plan and keeps all students engaged.
5. Share the Game with Students
Provide students with the Game ID, QR code, or join link to enter the game. They can join from any device without needing an account. Clear instructions at this stage reduce confusion and help the game start smoothly.
6. Start and Monitor the Game
Once students join:
-
Verify all participants are listed.
-
Click “Start” to begin the game.
-
Monitor progress in real time. The host dashboard shows scores, correct answers, and overall participation.
Active monitoring allows you to identify struggling students and give feedback during gameplay.
7. End the Game and Review Results
You can end the game at any time. After completion, a summary report displays individual and class performance. Reviewing results helps you assess understanding and identify areas needing reinforcement.
Tips for Effective Hosting
-
Test the Game First: Run a trial with a few participants to ensure everything works smoothly.
-
Encourage Participation: Motivate students with rewards or recognition for correct answers.
-
Customize Content: Adjust questions to align with lesson objectives.
-
Track Learning: Use the host dashboard to analyze which topics need review.
-
Keep It Fun: Incorporate different game modes and occasional surprises to maintain interest.
FAQs
-
What is Blooket?
Blooket is an educational platform that turns quizzes into interactive games to make learning engaging and enjoyable for students. -
Do students need an account to join a game?
No. Students can join using a Game ID, QR code, or join link without creating an account. -
Can I create my own question sets?
Yes. Teachers can create custom question sets tailored to their curriculum and learning objectives. -
How do I monitor student progress during a game?
The host dashboard provides real-time data on student performance, scores, and participation. -
Is Blooket free to use?
Yes, Blooket has a free version with essential features. Additional premium options provide extra functionalities for advanced hosting.
Read More: Tophillsport.com: Your Ultimate Multi-Topic Resource
Conclusion
Hosting a Blooket game is a simple yet powerful way to make lessons interactive, fun, and educational. By carefully selecting question sets, choosing the right game mode, and monitoring students’ progress, teachers can create an environment that promotes engagement and effective learning. Blooket’s flexibility allows it to adapt to different teaching styles, subjects, and classroom sizes, making it an essential tool for modern educators.
When teachers embrace platforms like Blooket, they not only enhance student participation but also foster a love for learning through gamification. The combination of real-time feedback, competition, and collaboration transforms traditional classrooms into dynamic learning spaces. With this guide, educators are equipped with the knowledge and confidence to host Blooket games successfully, ensuring that students remain motivated, attentive, and eager to learn.


